How to Visit Niagara Falls on a Budget: Tips & Experiences
Niagara Falls on a budget might seem like difficult to achieve, but here’s the truth: you can experience its full majesty without spending a fortune. As someone who’s traveled to all 50 US states and 47 prefectures in Japan, I’ve learned that smart budgeting isn’t about being cheap – it’s about spending money on what truly matters.
My travel philosophy is simple: we can’t afford to blow our entire budget on one place because we want to see as many destinations as possible. We’re not rich (ha ha!), but we’ve discovered that the best experiences often don’t cost the most money. We’ll splurge on a helicopter ride to reach places we can’t get to ourselves, but we’ll skip expensive tours for places we can explore on our own.
At Niagara Falls, this approach works perfectly. The falls themselves are free to view, and with smart planning, you can have an incredible experience while keeping costs low.
Planning Your Niagara Falls trip on budget
Best Time to Visit for Budget Travelers
While winter offers the lowest prices, I highly recommend visiting in summer. Yes, you’ll pay more, but here’s why it’s worth it: you get to experience the dynamic, powerful waterfalls at their best, plus you can enjoy the fun “get wet” experience near the falls. This is a huge advantage that you simply can’t get in winter.
The shoulder seasons (late spring and early fall) offer a good compromise between weather and prices if summer rates are too steep for your budget.
How Long to Stay
Based on my experience, two days is the perfect amount of time to enjoy both the US and Canadian sides without feeling rushed. This gives you enough time to see the main attractions, take photos, and soak in the atmosphere without overstaying your budget.
Getting There: Transportation Options and Costs
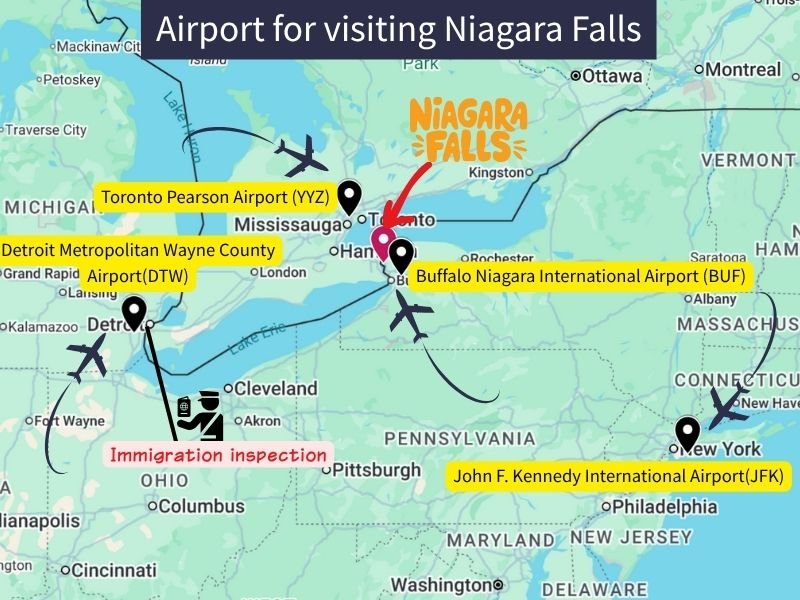
Buffalo is usually your best bet for convenience and lower ground transportation costs, while Toronto might offer better international flight deals.
I made a comparison table below. Check it and find the best route for you.
Toronto Pearson International Airport
4 options. Train,Bus, Shuttle, and Driving.
| Transport | Travel time | Estimated Cost | Pros | Cons |
|---|---|---|---|---|
| UP Express + GO Train (Via Union Station) | 2-3 hours (approx. 25 min to Union, then ~2h to NF) | CAD $30 – $40 | No driving stress. Direct to tourist area. | Requires a transfer in Toronto |
| Bus (FlixBus/Rider Express) | 1.5 – 2.5 hours | CAD $5 – $20 | Often the absolute cheapest direct option from YYZ. No transfers once on board. | Limited schedules. Drop-off points might be slightly further from attractions than GO Train station. |
| Shuttle Service (e.g., Niagara AirBus) | 2.5 – 3 hours (door-to-door) | CAD $60 – $130+ (per person, higher for private) | Door-to-door convenience, especially with luggage. No transfers. | Significantly more expensive than public transport. |
| Driving (Personal Car/Rental) | 1.5 – 2 hours | CAD $20 – $40 (Gas + potential tolls + parking at NF) | Flexibility to explore surrounding areas | Parking costs at Niagara Falls can be high. Driving stress. |
Buffalo Niagara International Airport (BUF)
5 options. Train,Bus, Shuttle, Ride-share/Taxi, and Driving. Ride-share or taxi is expensive but if you are group traveler, this option has a merit for you.
| Transport | Travel time | Estimated Cost | Pros | Cons |
|---|---|---|---|---|
| Amtrak Train | ~40 min (from Buffalo Exchange St. to NF) | USD $12 – $20 | Faster than bus from downtown Buffalo. Scenic route. | Requires transfer from airport to train station. Limited departures. |
| NFTA Metro Bus (with transfer) | 1.5 – 2 hours (incl. transfer) | USD $2 – $4 | Extremely cheap local public transport. | Involves a transfer (typically downtown Buffalo). Can be slow. Limited luggage space. |
| Shuttle Service (e.g., Niagara AirBus) | 1-2 hours (door-to-door) | CAD $24 – $95+ (Depends on the provider) | Door-to-door convenience, especially with luggage. No transfers. | Significantly more expensive than public transport. |
| Taxi/Ride-Share | 1 – 1.5 hours | USD $85-110 + tolls/border fee | Direct to the border. Can walk across the Rainbow Bridge. | Expensive for a single traveler. |
| Driving (Personal Car/Rental) | 25 – 40 minutes | USD $5 – $15 (Gas + potential tolls + parking at NF) | Very quick and convenient for US side access. | Parking costs at Niagara Falls can add up. |
John F.Kennedy International Airport (JFK)
4 options. Train,Bus, Air, and Driving. The travel time is long. I recommend to fly to Buffalo, if possible.
| Transport | Travel time | Estimated Cost | Pros | Cons |
|---|---|---|---|---|
| Train (Amtrak Maple Leaf/Empire Service) | 9 – 10 hours | USD $55 – $160 (varies widely by booking time/class) | More comfortable than bus. Scenic route. Direct to Niagara Falls, NY (then possibility to walk to ON side). | A very long journey. Ticket prices can fluctuate significantly. |
| Bus (FlixBus/Greyhound/OurBus) | 8 – 11 hours (may have transfers) | USD $35 – $80 | Often the cheapest direct mode. Good for budget travelers with time. | Very long travel time. Limited comfort. |
| Flying (to Buffalo BUF) + Ground Transport | 4-5 hours (approx. 1.5-2h flight + transfers) | CAD $60 – $130+ (per person, higher for private) | Fastest overall option. | Not always budget-friendly due to flight costs. |
| Driving (Personal Car/Rental) | 6.5 – 8 hours (to Niagara Falls, NY or ON) | USD $70 – $120+ (Gas + Tolls + Parking + potential bridge tolls) | Offers maximum flexibility for stops and exploring. | Long driving day. Parking costs. Border crossing delays if going to Canada. |
Detroit Metropolitan Wayne County Airport(DTW)
Only drive option. 4-5 hours drive required. Take some time to cross the border but it might be a precious experience to cross the border by car.
| Transport | Travel time | Estimated Cost | Pros | Cons |
|---|---|---|---|---|
| Driving (Personal Car/Rental) | 4 – 5 hours (to Niagara Falls, ON/NY) | USD $50 – $80 (Gas + Tolls + Parking + potential bridge tolls) | Most flexible. Can visit both sides and surrounding areas easily. | Border crossing delays. Long drive. Parking costs at Niagara Falls can be high. |
Smart Accommodation Strategies
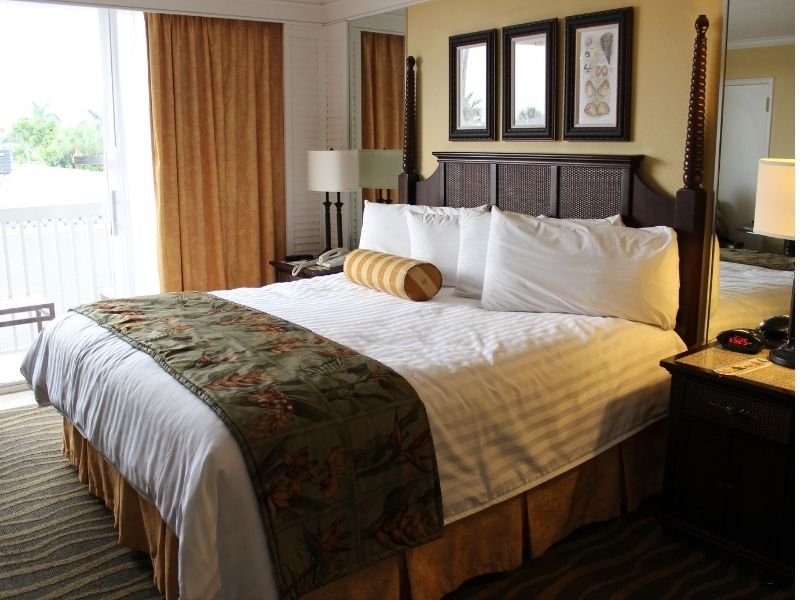
The Budget vs. Experience Balance
For pure budget savings, staying at roadside hotels or motels outside the falls area will save you money. But here’s where my “spend on what matters” philosophy comes in.
We chose to stay at the Marriott with a falls view. Yes, it was expensive for us, and we had to pay parking fees too. But this decision was totally worth it. We didn’t worry about parking costs during the day because we were already paying for hotel parking, and at night we enjoyed the illuminated falls right from our room. This experience was priceless and actually saved us money on evening entertainment.
Budget Accommodation Options
Hotels a bit further from the immediate Fallsview area, but you can find some affordable hotels in these areas below:
- Niagara Falls Boulevard (US side): Lots of chain hotels and motels about 10-15 minutes from the falls
- Rainbow Boulevard (US side): More budget options with easy access to tourist area
- Lundy’s Lane (Canadian side): Known for affordable accommodations, restaurants, and attractions
- Falls Avenue (Canadian side): Mix of budget and mid-range options within walking distance
- Grand Island, NY: About 20 minutes away but significantly cheaper options
- Lewiston, NY: Charming small town about 15 minutes north with lower prices
Accommodation Types
- Roadside motels outside the tourist area
- Budget hotel chains (Super 8, Motel 6, Red Roof Inn)
- Camping at nearby state parks
- Hostels (limited but available, mainly on Canadian side)
Mid-Range Splurge Worth Considering
- Falls view hotel room (if it fits your budget)
- Hotels with included parking
- Places within walking distance to reduce transportation costs
Things to Do in Niagara Falls Without Spending Too Much
There are so many exciting and unforgettable things to do in Niagara Falls—even if you’re on a budget. Some are totally free, and others cost just a little but give you big memories. Here are our favorite attractions and experiences, with tips for getting the most value.
Niagara Falls State Park (U.S. Side)
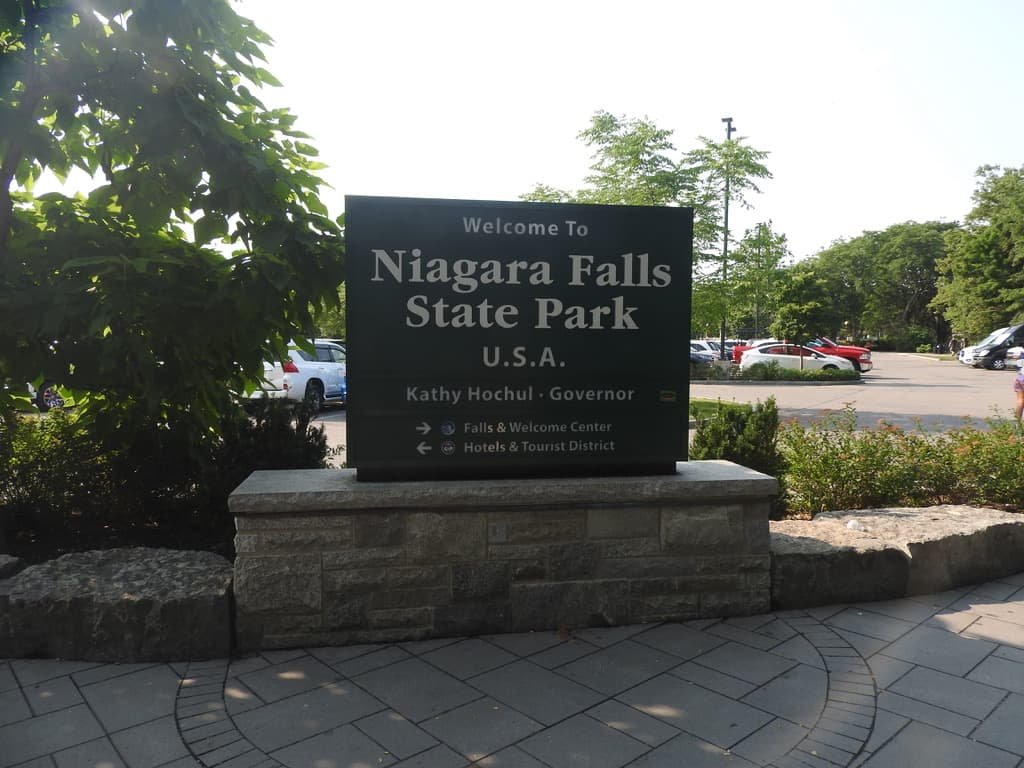
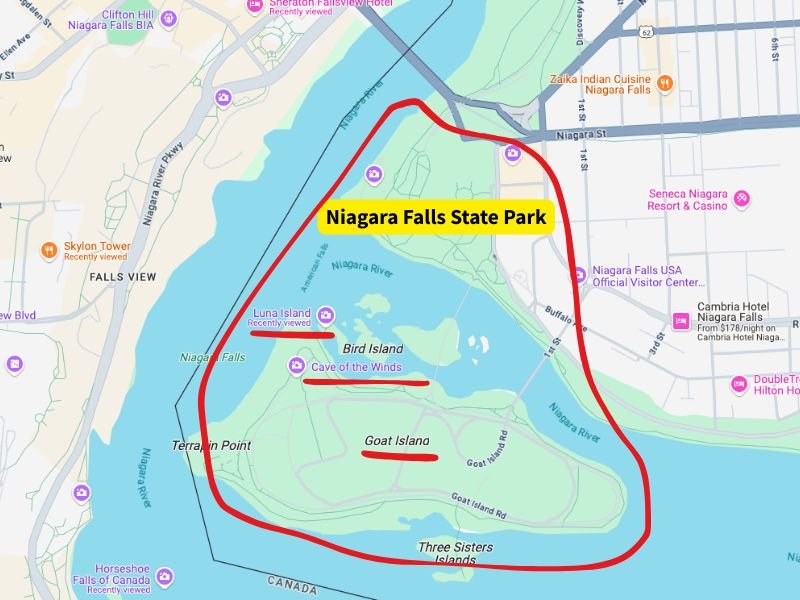
This is the oldest state park in the U.S., and it’s completely free to enter! You can walk right up to the edge of the American Falls and Bridal Veil Falls.
Why it’s worth it? You’ll feel the power of the water up close, and the mist on your face makes it a real adventure—without needing a ticket.
What we liked: Don’t miss Goat Island and Luna Island. On the map, it might look like a big area that takes a long time to walk around—but in reality, it was much easier and quicker than we expected. The views from these small islands are beautiful and peaceful, and there are benches where you can rest and enjoy the sound of the water.
Helpful tip: If you plan to visit Cave of the Winds, it’s located on Goat Island. You can walk around the park first, then go to Cave of the Winds at your booked time. This is a great way to make the most of your day without backtracking.
Cost: Free to enter the park; Cave of the Winds has a separate fee.
Our tip: Bring snacks or a picnic and enjoy lunch with a view. There’s also a trolley (small fee) if you don’t want to walk the whole way.
Queen Victoria Park (Canadian Side)
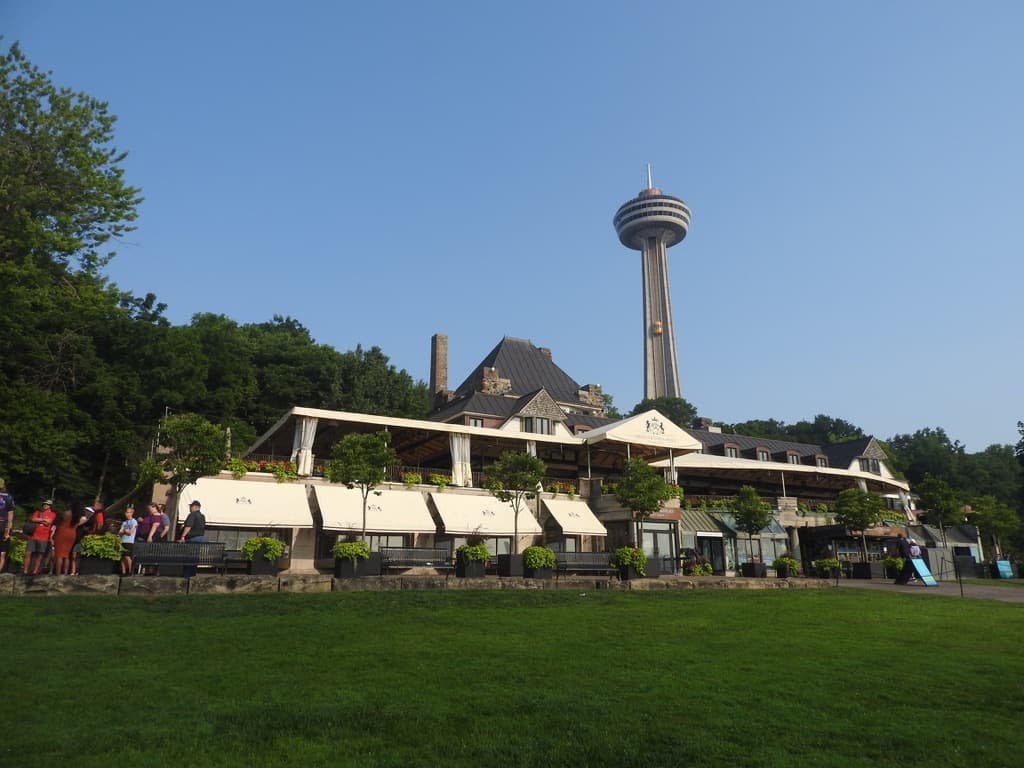
What it is: This lovely park stretches along the edge of the Canadian side of the falls. You can stroll through flower gardens, take photos, and enjoy the views—all for free.
Why it’s worth it: The view from this side is wider, and you can see all three falls at once. We spent hours just walking, relaxing, and watching the rainbow over the water.
Falls Illumination (Both Sides)
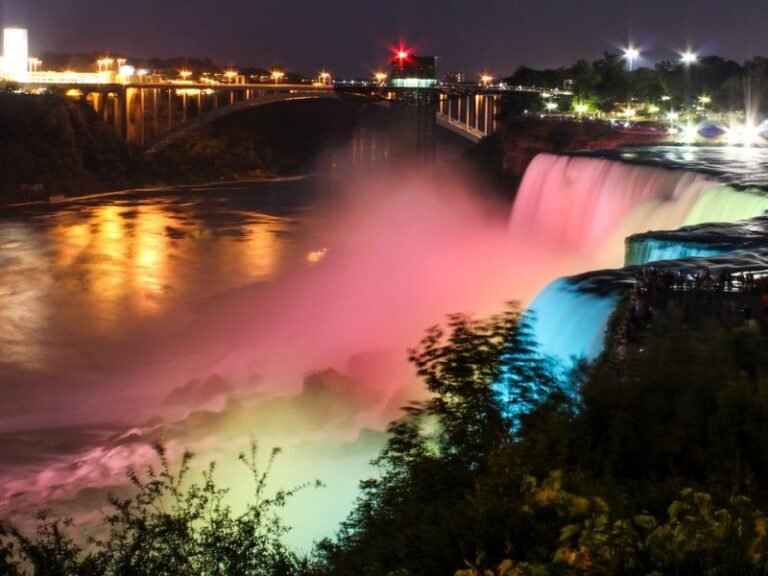
Every evening, the falls are lit up with colorful lights. It’s magical and romantic, and the best part—it’s free!
Why it’s worth it: Watching the glowing water with the sound of the falls in the background is an unforgettable moment.
Our experience: We stayed at the Marriott on the Canadian side and had a room with a view of the falls. At night, we watched the illumination and fireworks right from our window—it was a truly amazing and relaxing experience. Just lying in bed and seeing the colors change over the falls felt like a dream.
But if you’re planning to take good photos, here’s an honest tip: it’s better to go outside. I tried taking pictures from inside our hotel room, but the window reflected the lights and objects inside, so I couldn’t get a clear shot. Going to a nearby park or observation point gives you a much better angle for photos.
Cost: Free
Our tip: Arrive early to get a good spot outside, especially on weekends or fireworks nights. Great places to watch include Queen Victoria Park (Canada side) or Terrapin Point (U.S. side).
Maid of the Mist (U.S.) / Hornblower Cruise (Canada)
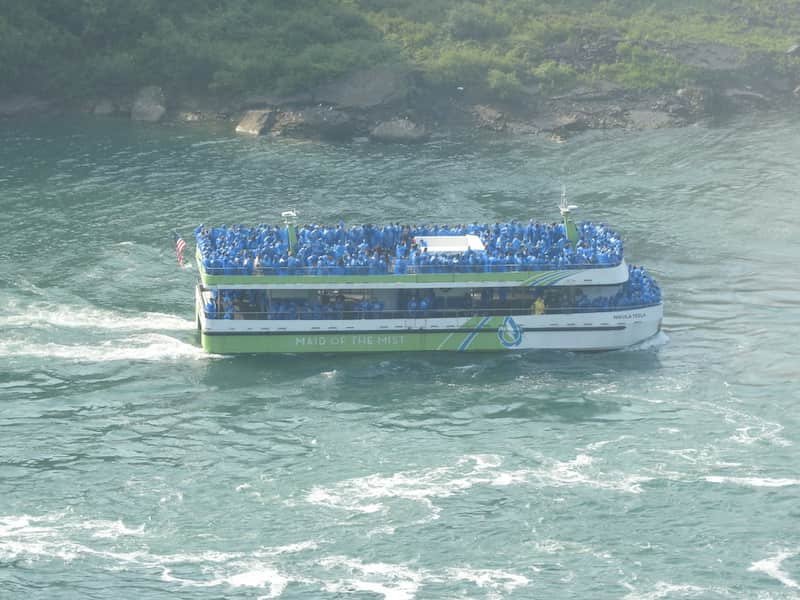
What it is: A boat ride that takes you right into the heart of the American Falls and close to the powerful Horseshoe Falls. You’ll get soaked (in a fun way) and feel the true power of Niagara.
Why it’s worth it: This isn’t just sightseeing—it’s a full-on experience. The boat gets so close to the falls that you can hear the roar and feel the mist all over you. It’s exciting, refreshing, and unforgettable.
Our experience: We chose to ride the Maid of the Mist, and wow—what an adventure! As you can see in the photo above (with the boat packed with people), it was very crowded. It might be hard to get to the front of the boat, but that’s definitely the best place to fully experience the falls up close.
We were near the middle-right side, and we still loved every second. The mist hit us, the water roared all around, and we felt so small under the giant falls. We got wet (even with the ponchos!), but it was part of the fun. This is honestly one of those must-do experiences, even for budget travelers.
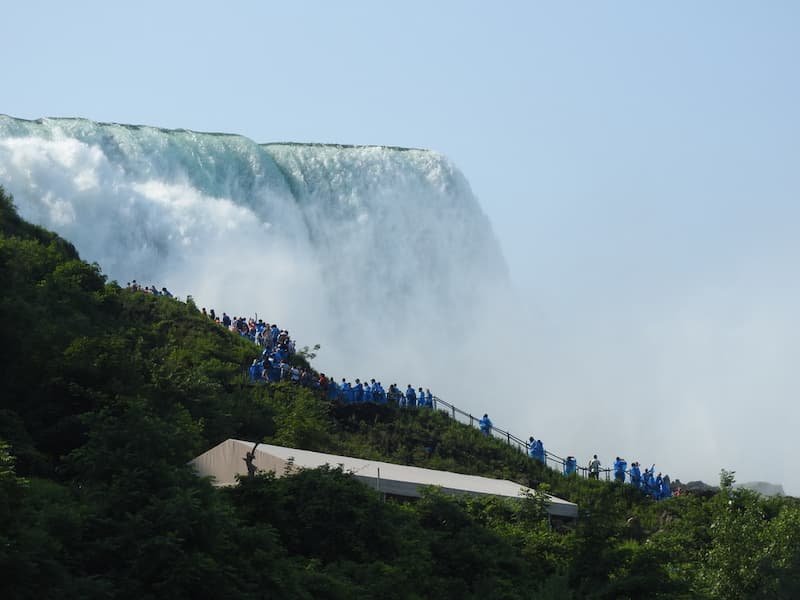
After the boat ride: Don’t rush off too quickly! After getting off the boat, we followed a short trail near the falls, which had some stairs and small up-and-down paths. It’s right next to the falls, so you get wet all over again—and it was so worth it. I don’t know the name of the trail, but everyone walks this way, so you won’t miss it. It felt like a little adventure of its own, and a great way to finish the experience.
Cost: Around $30.25 per adult (prices may change slightly)
Our tip: Get in line early for the best spots on the boat, and don’t pack away your poncho too soon—you’ll need it again on the trail afterward!
Cave of the Winds (U.S.)
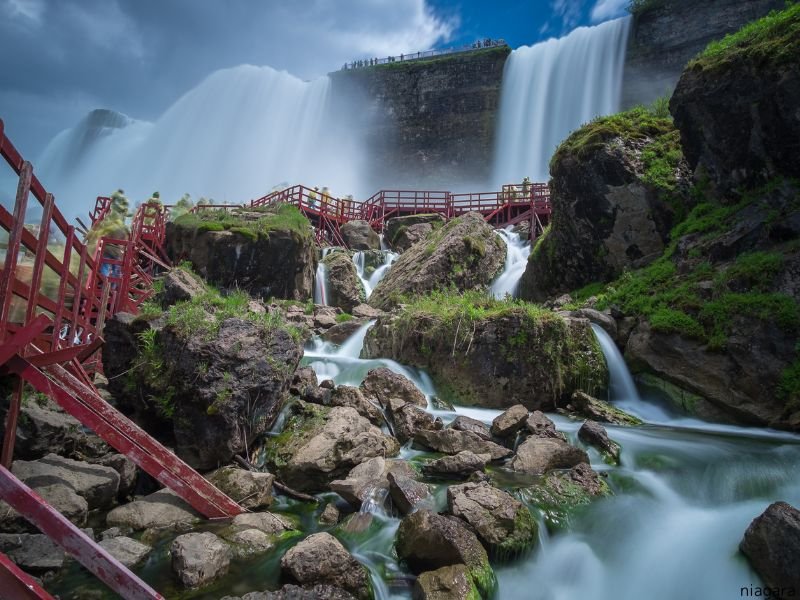
What it is: You take an elevator down to a series of wooden walkways that bring you face-to-face with Bridal Veil Falls. One section is called the “Hurricane Deck” — and it really feels like a storm!
Why it’s worth it: We didn’t choose this activity but there are so many people in line to join this. Should be fun! You’ll laugh, scream, and probably take a thousand photos.
Cost: About $23 for adults.
Our tip: Wear water-friendly shoes. The ticket includes a poncho and sandals, but it’s still a very wet adventure!
Niagara River Walks and Trails
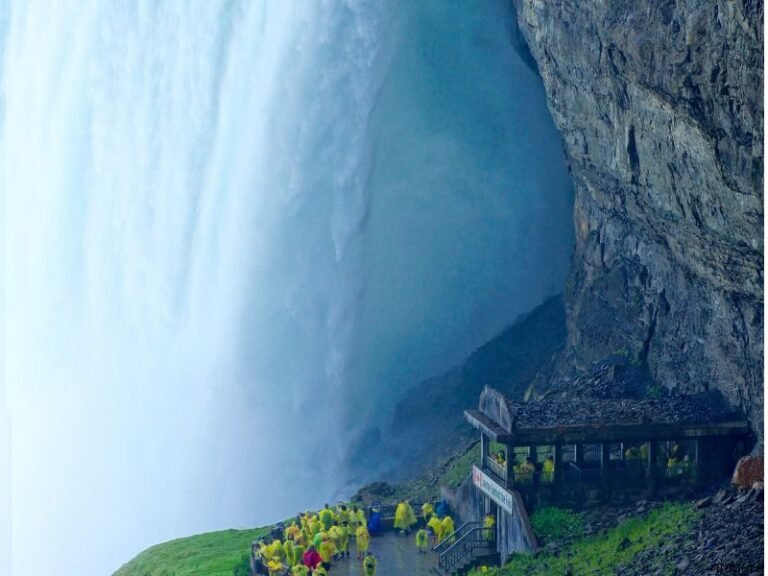
What it is: This attraction takes you through tunnels behind Horseshoe Falls. You can hear the roar of the water and feel the thunder in your chest.
Why it’s worth it: It’s a totally different perspective—like seeing the falls from the inside. The outdoor viewing deck is especially beautiful.
Cost: Around CAD $29 for adults.
Our tip: If you go early, it’s less crowded. Combine it with the Niagara Parks Pass to save if you plan to do more.
Niagara River Walks and Trails
What it is: There are several riverside trails on both sides of the border. You can walk for hours with amazing views and fresh air.
Why it’s worth it: These are peaceful and scenic ways to enjoy the natural beauty of the area—without a tour guide or cost.
Our tip: Don’t miss the White Water Walk (Canada, small fee) or Niagara Gorge Trail (U.S., free).
Clifton Hill (Canadian Side)

What it is: A colorful and fun street filled with arcades, snack shops, and quirky attractions like mini golf and wax museums.
Why it’s worth it: Even if you don’t spend a lot, it’s fun just to walk around, take silly photos, and soak up the lively energy.
Our tip: Look for combo tickets if you want to try more than one attraction—especially good for families.
Conclusion: Enjoy Niagara Falls on Any Budget
You don’t need to spend a fortune to have an amazing time at Niagara Falls. With so many free viewpoints, low-cost experiences, and smart travel choices, it’s easy to plan a fun and memorable trip—even on a tight budget.
For us, the most important thing is choosing what’s really worth paying for. We splurged on a hotel with a view and the Maid of the Mist tour, and those memories are priceless. At the same time, we skipped unnecessary tours and enjoyed free parks, hikes, and fireworks shows instead. By focusing on what truly matters to you, you can create a trip that fits your budget and leaves you smiling.
Whether you’re walking across Goat Island, watching the colorful illumination from Queen Victoria Park, or standing on a boat under the falls—you’ll feel the magic of Niagara.
